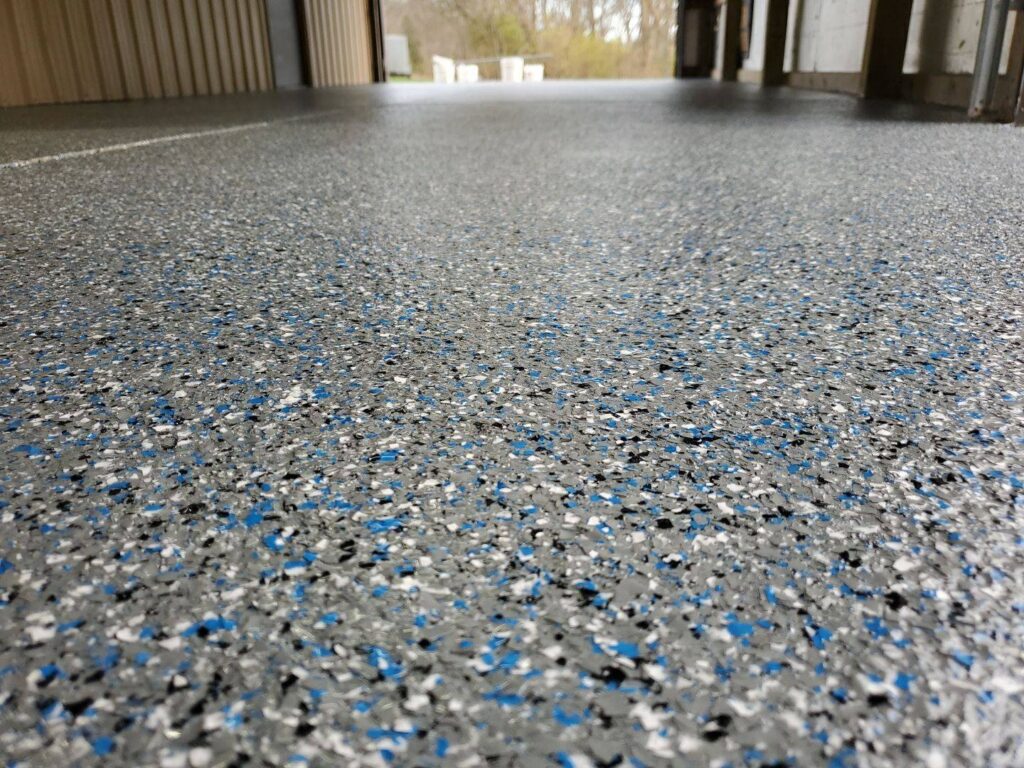
How To Epoxy Garage Floor: Step-by-Step Guide to Transform Your Garage Floor
How to epoxy garage floor? but don’t know where to start? Look no further! We have created this step-by-step guide that will walk you through the entire process of creating an epoxy coating on your floor. With our clear instructions, reliable product recommendations and helpful tips, you are sure to get a stunning finish in no time at all! Allow us to share our expertise in transforming spaces – tangible evidence of success is just a few easy steps away.
Preparation
Preparation is vital when it comes to achieving a smooth and even surface. Cleaning the surface and removing any stains or debris is the first crucial step in creating a clean and level foundation. Any remaining cracks or imperfections must be addressed with fillers before moving on to the next stage of the process. As a professional epoxy flooring service provider in the industry, I cannot stress the importance of thorough preparation enough. It may seem like a tedious task, but taking the time to properly prepare the surface will ensure a flawless finish that will last for years to come. Don’t skip corners when it comes to preparation – your final result will thank you.

Epoxy Flake Garage Flooring
Mixing
When it comes to mixing epoxy, precision is key. To ensure that your project has a successful outcome, it is important to carefully measure and mix the epoxy according to the epoxy flooring directions. Taking the time to do this step correctly can save you from potential mistakes and make all the difference in the final quality of your product. Following the instructions provided by the manufacturer will ensure that the epoxy cures properly and gives you the desired finish that you are looking for. Don’t rush through the mixing process – take your time and trust in the instructions. It will make all the difference in your finished product.
Application
When it comes to applying any type of product, whether it be paint or makeup, it’s important to start with a thin coat and build up the thickness of each layer. This method not only ensures proper coverage and evenness but also prevents clumping and streaking. By taking your time and gradually adding layers, you’ll be able to achieve your desired result without making any mistakes that could set you back. Whether you’re a seasoned pro or just starting, remember to always start with a thin coat and work your way up for the best results.
Finishing Touches
Attaining a smooth finish is crucial to any project, and this calls for proper attention to detail, especially when working with delicate surfaces such as walls and ceilings. Using a roller to smooth out any bubbles or rough spots can make all the difference between a good result and an exceptional one. With its simple design, a roller can pick up stubborn bubbles and smooth out rough spots on the surface, resulting in a more even spread of the coating. Whether you’re looking to add a fresh coat of paint or finishing up a DIY project, a roller can quickly become your go-to tool for achieving that picture-perfect finish.

Epoxy Flooring
Curing Time
When it comes to working with epoxy, one of the most crucial steps is to allow it to cure completely. This process can take anywhere from a few hours to several days, depending on the temperature and humidity of the environment. It’s important to resist the urge to rush this process, as failing to do so can result in the epoxy not properly hardening or losing its strength over time. If you’re applying epoxy to a floor or other surface that will see foot traffic or vehicles, be sure to wait until the cure time has been met before walking or parking on it. This may require some patience, but the result will be a durable and long-lasting finish.
Maintenance
Regular maintenance is essential if you want to preserve the condition of your furniture or floors. Spills can happen easily, but the key is to act fast by wiping them away as soon as possible. Letting them sit for too long can lead to unsightly stains that are difficult to remove. With a little effort and diligence, you can keep your furnishings looking like new for years to come. Don’t let spills go unnoticed, tackle them head-on for a beautiful and well-maintained home.

