A step by Step Guide to How to Epoxy Garage Floor
Are you tired of looking at your dull and dirty garage floor? Do you want to transform your garage into a functional and stylish space? Look no further than an epoxy garage floor makeover. Not only will it enhance the appearance of your garage, but it will also increase its durability and functionality. In this article, we will guide you through the six steps to a stunning epoxy garage floor makeover that will leave you wondering why you didn’t do it sooner.
Preparation is Key
Diving into an epoxy garage floor makeover without acknowledging the critical role of preparation is like setting sail without a compass; you may eventually reach your destination, but the journey will be fraught with unnecessary challenges. The act of preparing your garage floor for its epoxy transformation is not just a step—it’s the foundation upon which the success of the entire project rests. Engaging in a battle against dirt, grease, and oil with a degreaser and a stiff brush becomes a ritual, a meticulous dance that ensures every square inch of the surface is pristine. Following up with a pressure washer not only washes away the remnants of grime but also symbolizes the washing away of the old, making way for the new. The importance of allowing the floor to dry completely cannot be overstated; it’s a pause that prepares both the surface and the homeowner for the transformative journey ahead.
This preparatory stage is an investment in the future, a guarantee that the stunning finish of your epoxy floor will be everything you envisioned and more. It’s a testament to the idea that great outcomes are built on the back of thorough and thoughtful preparation. As the water evaporates and the floor dries to perfection, anticipation builds. This isn’t just about cleaning; it’s about setting the stage for a transformation that will redefine the look and feel of your garage. The discipline and diligence exercised in these initial steps reflect the care and quality that will characterize the final result.
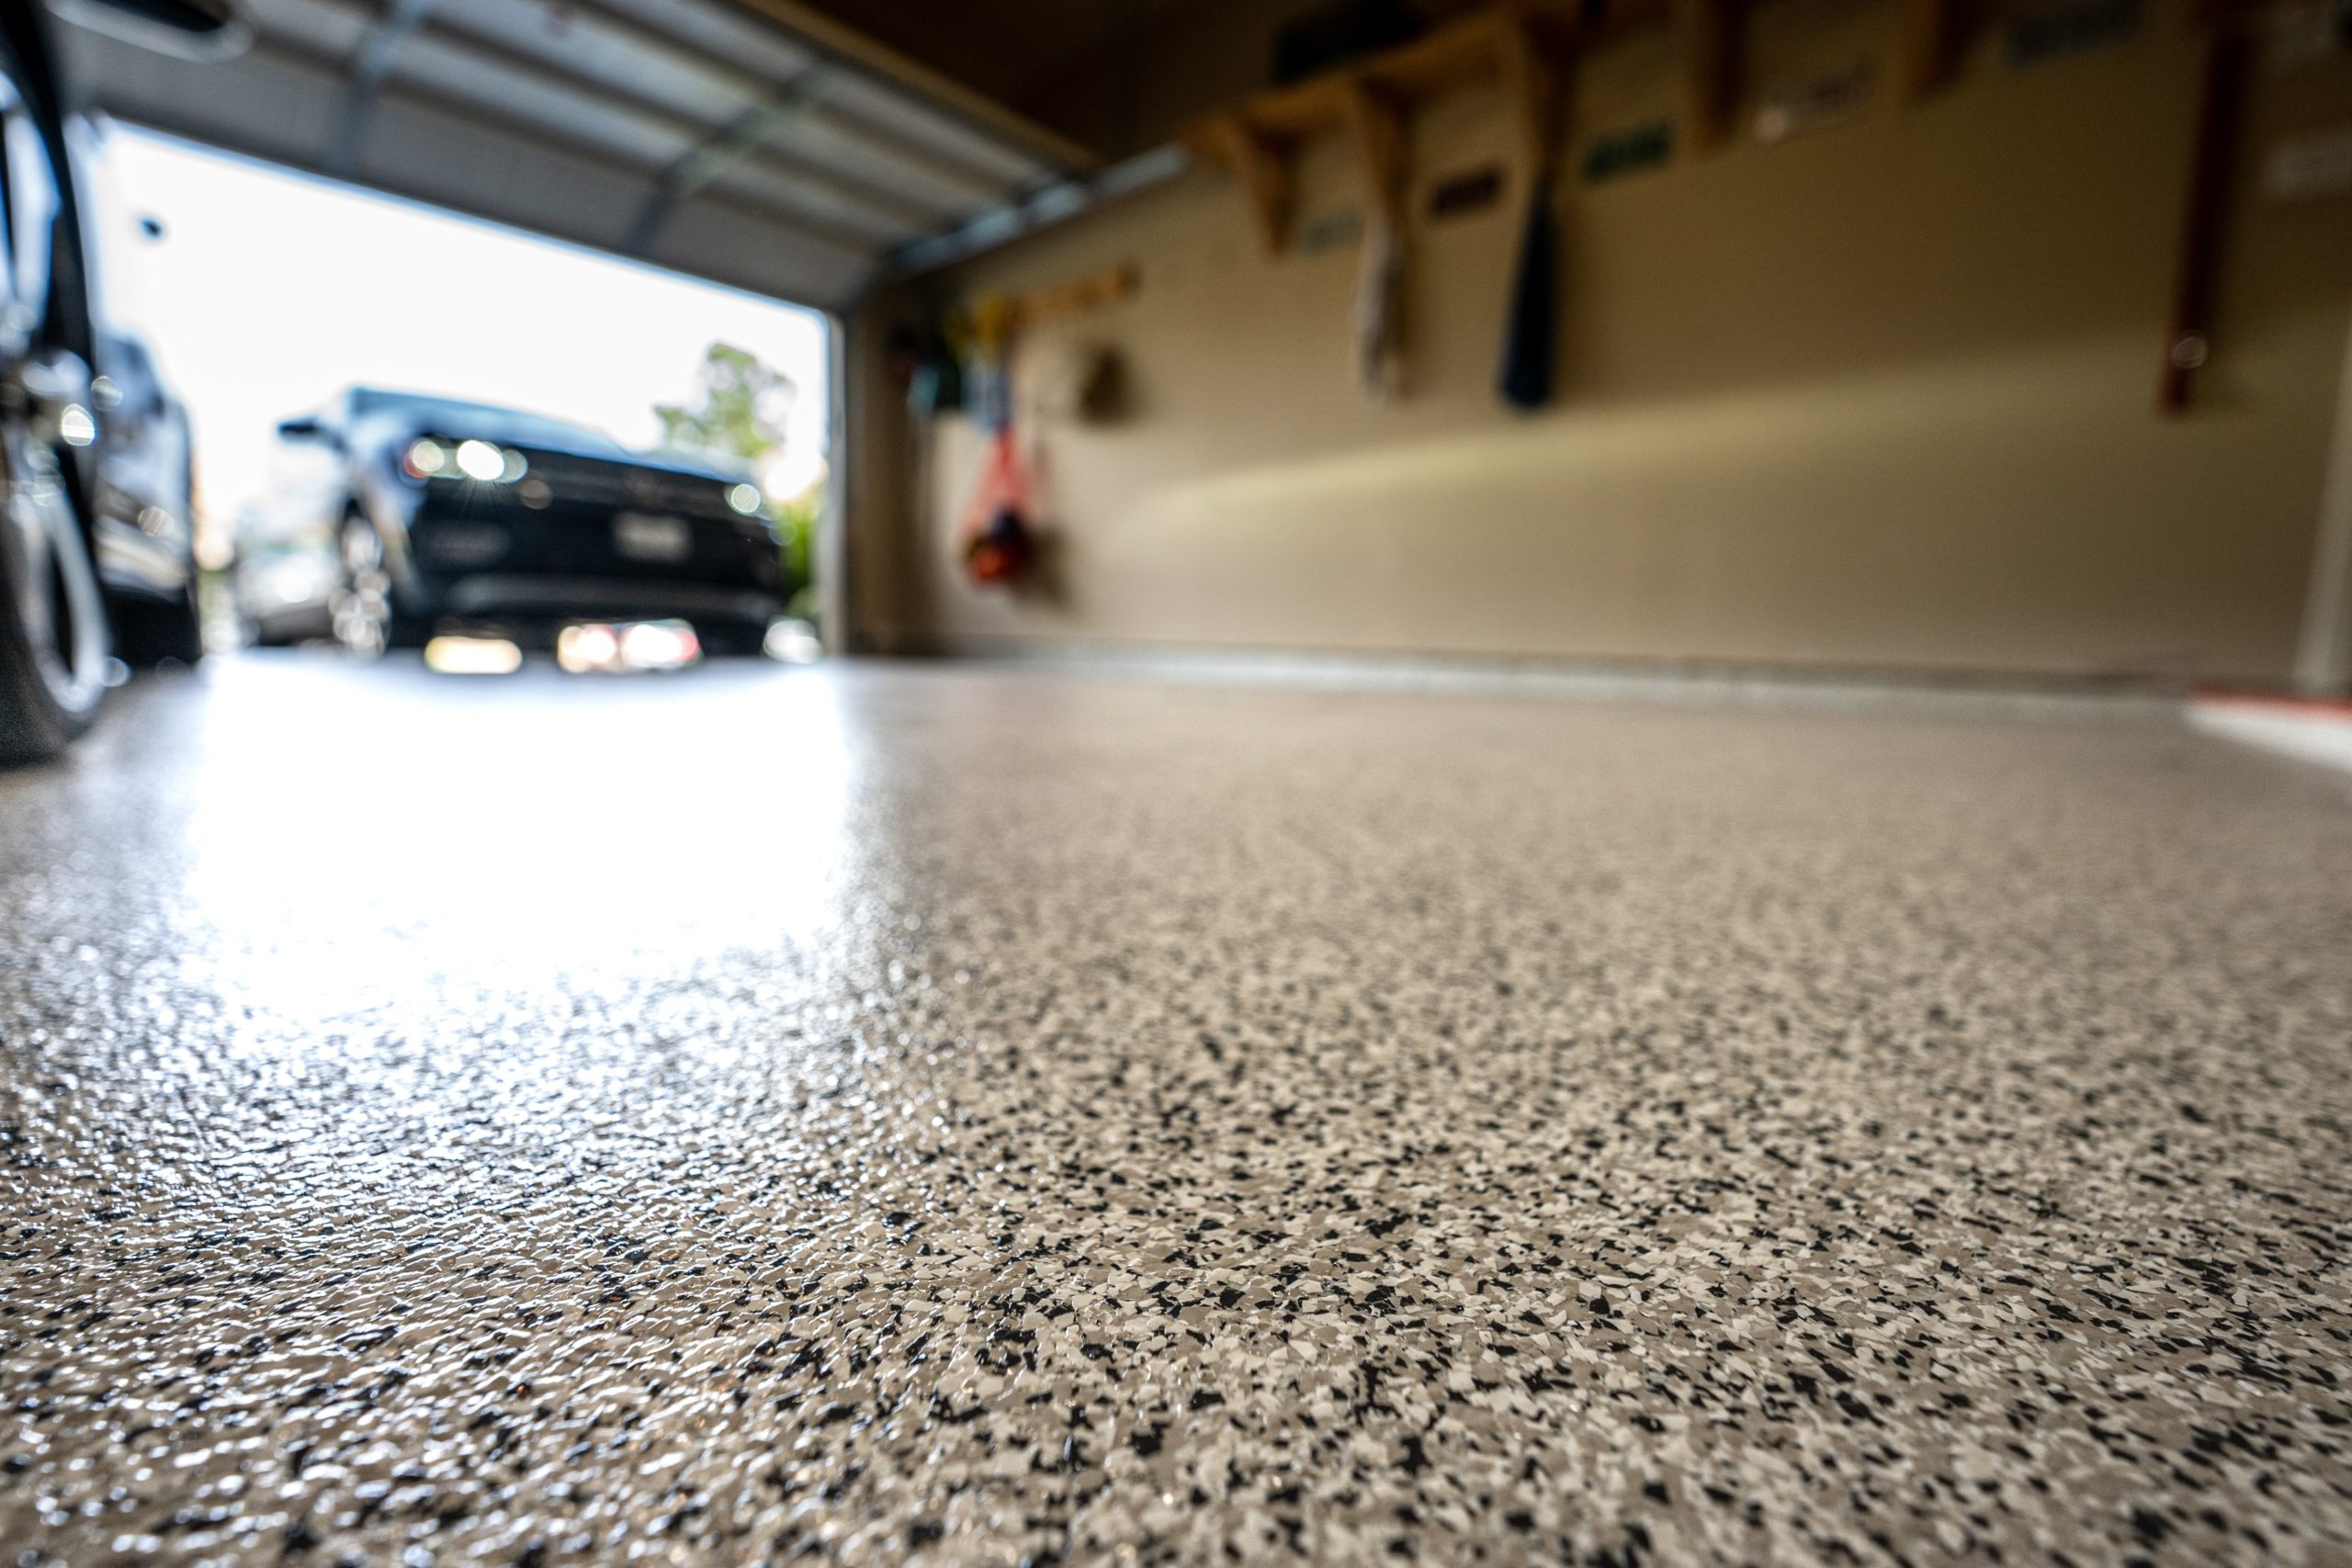
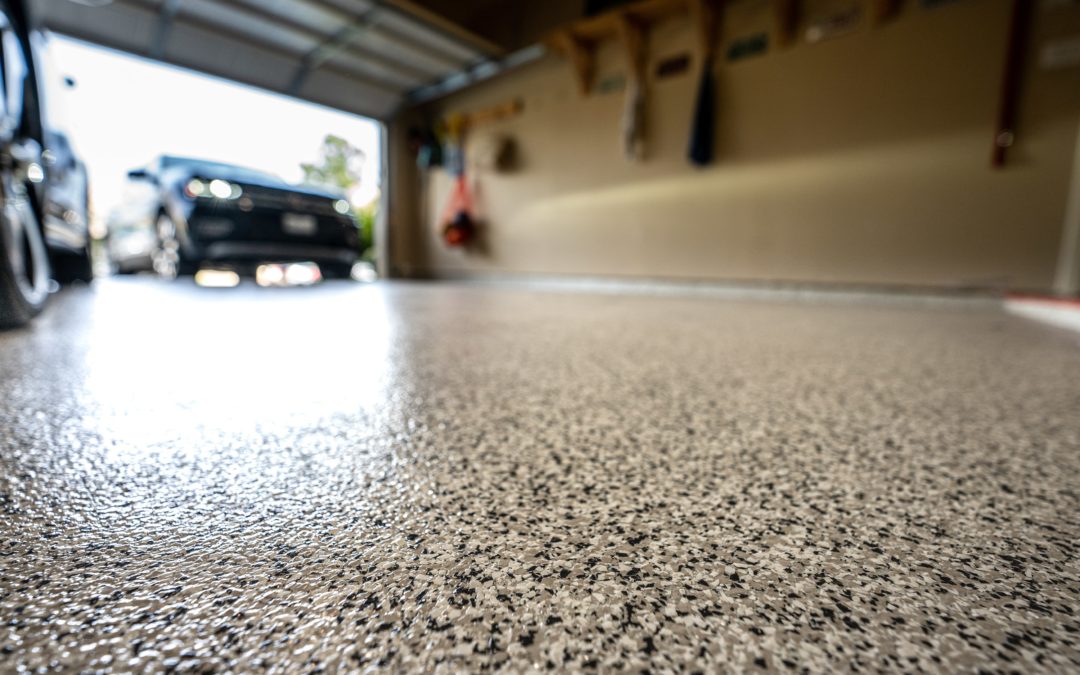
Epoxy Garage Floor
Repair Any Damage
Venturing into the realm of epoxy flooring without first addressing the scars and cracks marring your garage floor is akin to painting over a tarnished canvas. The beauty of the final piece will undoubtedly be compromised. Repairing any damage with a concrete patching compound is not merely a preparatory step; it’s an act of restoration, breathing new life into a surface worn by time and use. By meticulously filling each crack and smoothing over every imperfection, you’re ensuring that your floor becomes a pristine canvas ready to hold the masterpiece that is your epoxy finish. This crucial step cannot be rushed, for the integrity of the epoxy application depends on the foundation upon which it rests. A seamless, durable finish is only achievable on a surface that has been lovingly prepared, and free of blemishes and irregularities.
The transformation from a damaged, uneven surface to a smooth, flawless foundation is both a testament to your dedication and a promise of the quality to come. Sanding down the dried patching compound to achieve uniformity ensures that when the epoxy is finally applied, it adheres evenly across the entire floor, eliminating the risk of peeling or bubbling. This meticulous attention to detail in the repair phase sets the stage for an epoxy floor that not only looks professional but also extends the longevity and functionality of your space.
Choose Your Epoxy
Selecting the right epoxy for your garage floor is akin to choosing the perfect attire for a grand occasion; it’s a decision that significantly influences the outcome and longevity of your project. The market offers a palette of options, from the robust 100% solids epoxy, known for its unparalleled durability and resistance, to the more user-friendly solvent-based and water-based varieties, which promise a smoother application process. This choice is not merely about picking a product; it’s about aligning your project’s needs with the characteristics of each type of epoxy. Whether you lean towards the formidable strength of 100% solids or the practical ease of water-based solutions, the decision will set the tone for your garage’s aesthetic and functional future. Additionally, diving into the spectrum of colors and finishes available allows you to tailor the space to your personal taste, transforming your garage from a mere storage area into an extension of your home’s personality.
The journey of choosing your epoxy is both exciting and critical. It demands a careful consideration of factors such as the garage’s usage, climate conditions, and your aspirations for the space. Opting for a high-gloss finish can illuminate and enlarge the appearance of your garage while selecting a color that complements your home’s exterior can seamlessly blend the indoor-outdoor aesthetic. Beyond aesthetics, the type of epoxy you choose will also dictate the maintenance and longevity of your floor, making it imperative to weigh the pros and cons of each option.
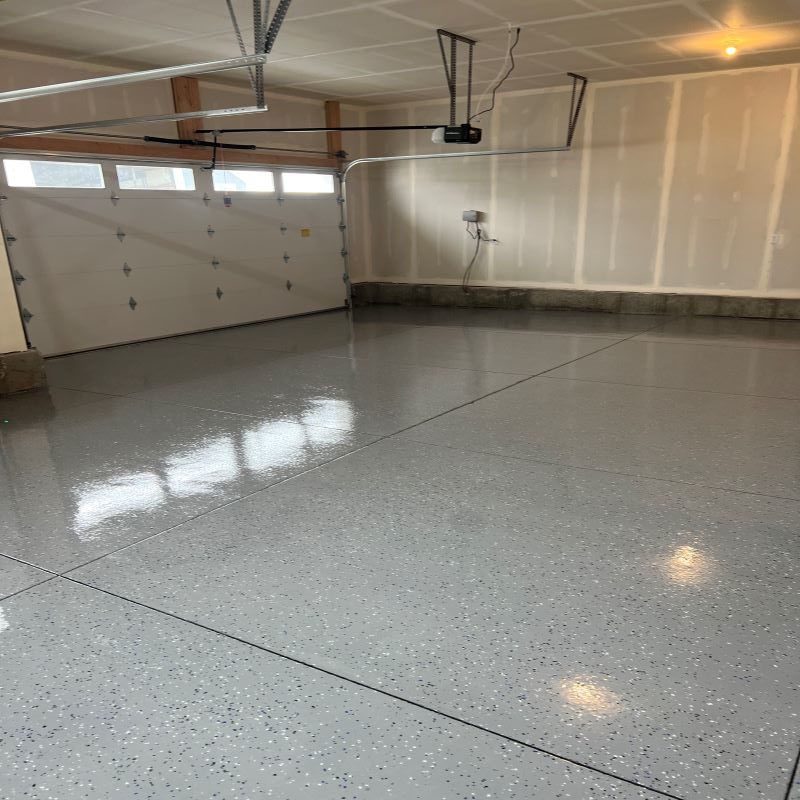
Garage Floor Epoxy Sealing
Apply the Epoxy
The moment has arrived to bring your vision to life by applying the carefully selected epoxy to your garage floor. Imagine yourself as an artist, with the roller or squeegee as your brush, and the bare concrete as your canvas. This stage is where precision meets passion, as you meticulously work in small sections to ensure the epoxy coats every inch of the floor evenly. The technique of backrolling is akin to smoothing out the brushstrokes on a painting, ensuring that no air bubbles mar the surface and that the finish is as smooth as glass. This process is not just about application; it’s about transformation. Each stroke not only covers the floor but also seals in the effort and preparation that led to this moment, layer by layer building towards a masterpiece that reflects both your hard work and your home’s character.
As you progress across the garage, the satisfaction of seeing the floor come alive with color and shine is unparalleled. The act of applying epoxy is imbued with a sense of rhythm and purpose, each section completed bringing you closer to the realization of your vision. This isn’t merely a task, but a journey towards creating a space that is not only functional but also aesthetically pleasing. The importance of even application and diligent backrolling cannot be overstated, as these steps are crucial for achieving a flawless finish that is as durable as it is beautiful.
Add Decorative Flakes
Elevating your epoxy garage floor from simply functional to fabulously decorative is a breeze with the addition of decorative flakes. Picture this: as you lay down the epoxy, a cascade of colorful flakes dances across the surface, embedding themselves into the wet coating like confetti on a parade route. This isn’t just flooring; it’s an expression of individuality, a bespoke piece of art created by you, for your home. The variety of colors and sizes available in these flakes means the possibilities are endless, allowing you to customize your garage floor to perfectly match your style or even to mimic the hues of a favorite landscape or abstract painting. The process transforms the application from a task into an act of creativity, turning your garage into a space that delights the senses.
Once the epoxy has cured, the moment arrives to reveal the true beauty of your work. By gently scraping off any excess flakes, you uncover a smooth, textured finish that feels as good underfoot as it looks. This step is akin to a sculptor chiseling away the final pieces of marble to reveal the masterpiece beneath. The result is a floor that not only stands up to the rigors of garage life but does so with a flair that’s uniquely yours. The decorative flakes embedded in the epoxy not only add depth and character to your floor but also improve its functionality by providing additional grip, making it as practical as it is beautiful.
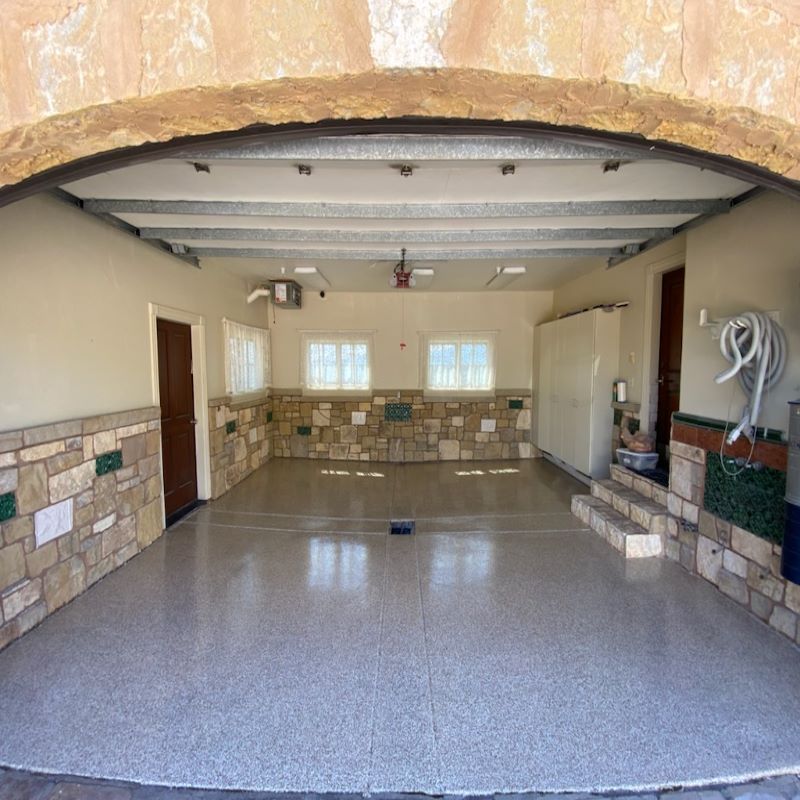
Garage Floor Epoxy Flooring
Seal the Floor
Sealing the floor is not just a task; it’s an art that transforms your garage into a fortress against the relentless assault of wear and tear. Imagine coating your floor with an invisible shield, a clear polyurethane sealer that guards every inch like an unbreakable barrier. This final step in your garage makeover is crucial, turning the mundane into the extraordinary. By applying this sealer evenly across the surface, you’re not just preserving the floor; you’re elevating its resilience, ensuring that every vehicle movement and every footstep is a testament to durability and strength.
The magic happens during the drying process, where patience pays off in spades. As the sealer dries completely, it forms a glossy, protective layer that is both visually appealing and immensely practical. This isn’t merely about maintaining the status quo; it’s about enhancing the floor’s ability to withstand the rigors of daily use. With this protective seal, your garage floor is not only prepared to face the challenges of wear and tear but is also transformed into a showcase of efficiency and longevity.
Conclusion:
An epoxy garage floor makeover is a great way to transform your garage into a functional and stylish space. By following these six steps, you can ensure that your epoxy garage floor is durable, long-lasting, and stunning. Not only will it enhance the appearance of your garage, but it will also increase its functionality and value. So why wait? Start your epoxy garage floor makeover today and enjoy the benefits for years to come.